This section provides task-focused guides for developers building applications with etcd, and for operators responsible for deploying, configuring, and maintaining etcd clusters.
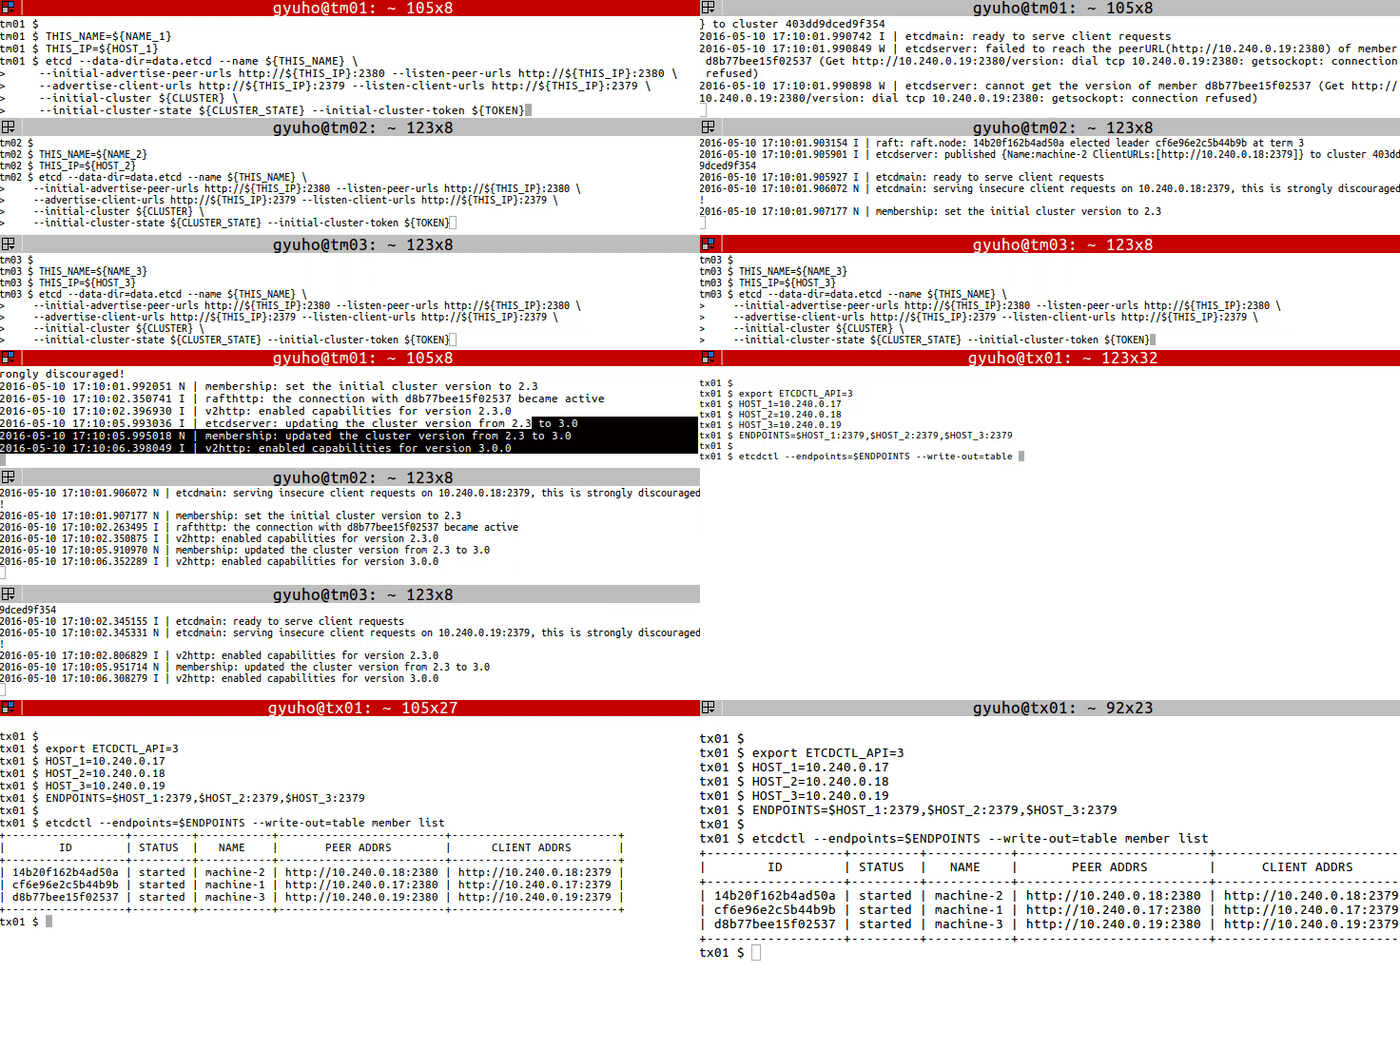
Now etcd is ready! To connect to etcd with etcdctl:
exportETCDCTL_API=3HOST_1=10.240.0.17
HOST_2=10.240.0.18
HOST_3=10.240.0.19
ENDPOINTS=$HOST_1:2379,$HOST_2:2379,$HOST_3:2379
etcdctl --endpoints=$ENDPOINTS member list
1.2 - How to conduct leader election in etcd cluster
Steps for conducting a leader election through the etcdctl client
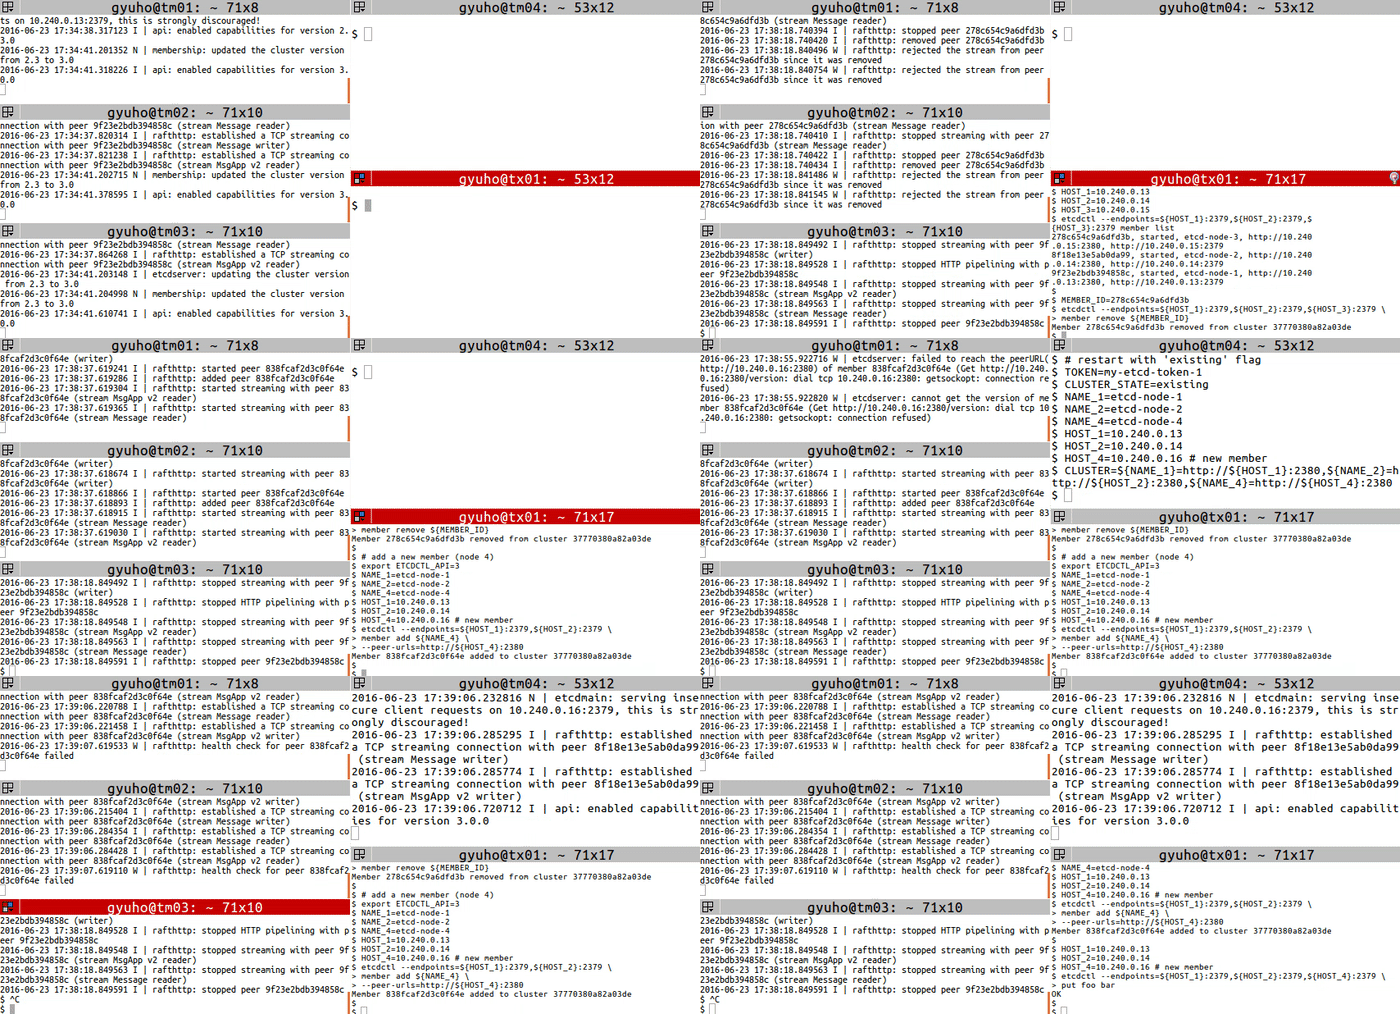
Then replace a member with member remove and member add commands:
# get member IDexportETCDCTL_API=3HOST_1=10.240.0.13
HOST_2=10.240.0.14
HOST_3=10.240.0.15
etcdctl --endpoints=${HOST_1}:2379,${HOST_2}:2379,${HOST_3}:2379 member list
# remove the memberMEMBER_ID=278c654c9a6dfd3b
etcdctl --endpoints=${HOST_1}:2379,${HOST_2}:2379,${HOST_3}:2379 \
member remove ${MEMBER_ID}# add a new member (node 4)exportETCDCTL_API=3NAME_1=etcd-node-1
NAME_2=etcd-node-2
NAME_4=etcd-node-4
HOST_1=10.240.0.13
HOST_2=10.240.0.14
HOST_4=10.240.0.16 # new memberetcdctl --endpoints=${HOST_1}:2379,${HOST_2}:2379 \
member add ${NAME_4}\
--peer-urls=http://${HOST_4}:2380
Next, start the new member with --initial-cluster-state existing flag:
# [WARNING] If the new member starts from the same disk space,# make sure to remove the data directory of the old member## restart with 'existing' flagTOKEN=my-etcd-token-1
CLUSTER_STATE=existing
NAME_1=etcd-node-1
NAME_2=etcd-node-2
NAME_4=etcd-node-4
HOST_1=10.240.0.13
HOST_2=10.240.0.14
HOST_4=10.240.0.16 # new memberCLUSTER=${NAME_1}=http://${HOST_1}:2380,${NAME_2}=http://${HOST_2}:2380,${NAME_4}=http://${HOST_4}:2380
THIS_NAME=${NAME_4}THIS_IP=${HOST_4}etcd --data-dir=data.etcd --name ${THIS_NAME}\
--initial-advertise-peer-urls http://${THIS_IP}:2380 \
--listen-peer-urls http://${THIS_IP}:2380 \
--advertise-client-urls http://${THIS_IP}:2379 \
--listen-client-urls http://${THIS_IP}:2379 \
--initial-cluster ${CLUSTER}\
--initial-cluster-state ${CLUSTER_STATE}\
--initial-cluster-token ${TOKEN}
2 - Developer Tasks
Step-by-step guides for developers using etcd as a key-value store in their applications.
2.1 - Reading from etcd
Reading a value in an etcd cluster
Prerequisites
Install etcdctl
Procedure
Use the get subcommand to read from etcd:
$ etcdctl --endpoints=$ENDPOINTS get foo
foo
Hello World!
$
where:
foo is the requested key
Hello World! is the retrieved value
Or, for formatted output:
$ etcdctl --endpoints=$ENDPOINTS --write-out="json" get foo
{"header":{"cluster_id":289318470931837780,"member_id":14947050114012957595,"revision":3,"raft_term":4,
"kvs":[{"key":"Zm9v","create_revision":2,"mod_revision":3,"version":2,"value":"SGVsbG8gV29ybGQh"}]}}
$
where write-out="json" causes the value to be output in JSON format (note that the key is not returned).
2.2 - Writing to etcd
Adding a KV pair to an etcd cluster
Prerequisites
Install etcdctl
Procedure
Use the put subcommand to write a key-value pair:
etcdctl --endpoints=$ENDPOINTS put foo "Hello World!"
$ etcdctl --endpoints=$ENDPOINTS get PREFIX --prefix
Global Options
--endpoints=[127.0.0.1:2379], gRPC endpoints
Options
--prefix, get a range of keys with matching prefix
Example
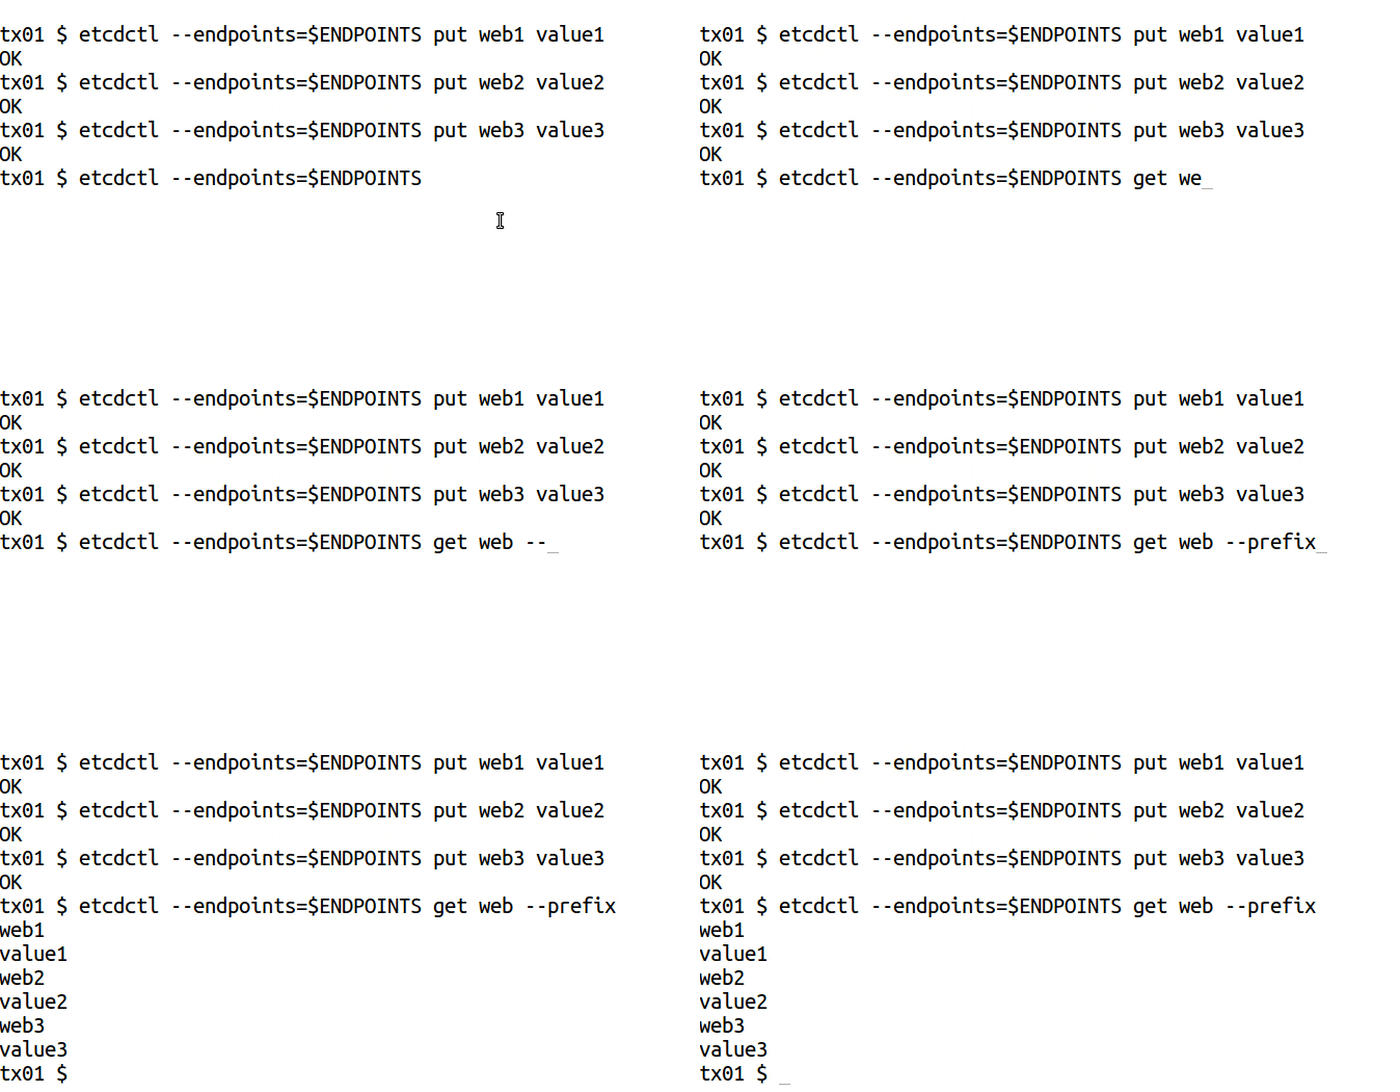
etcdctl --endpoints=$ENDPOINTS put web1 value1
etcdctl --endpoints=$ENDPOINTS put web2 value2
etcdctl --endpoints=$ENDPOINTS put web3 value3

etcdctl --endpoints=$ENDPOINTS get web --prefix
--prefix[=false]: delete keys with matching prefix
--prev-kv[=false]: return deleted key-value pairs
--from-key[=false]: delete keys that are greater than or equal to the given key using byte compare
--range[=false]: delete range of keys without delay
Options inherited from parent commands
--endpoints="127.0.0.1:2379": gRPC endpoints
Examples
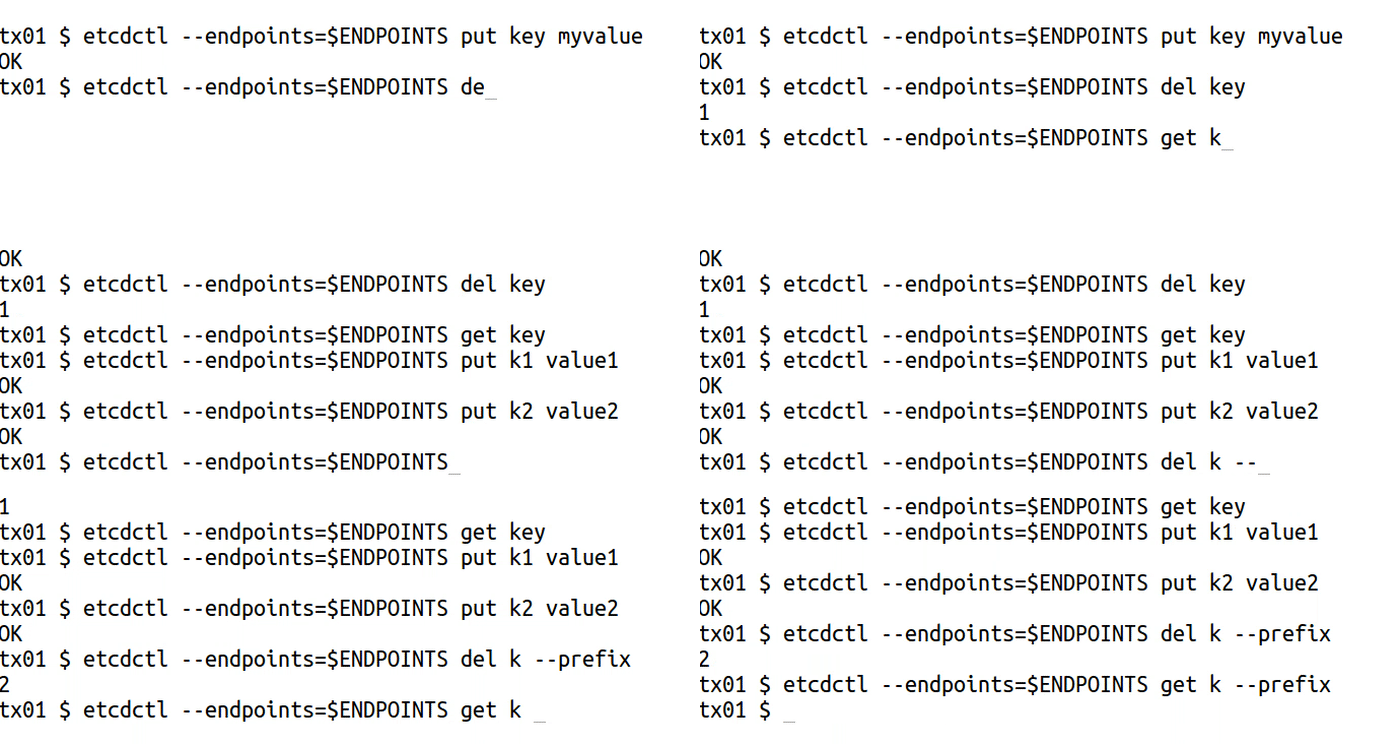
etcdctl --endpoints=$ENDPOINTS put key myvalue
etcdctl --endpoints=$ENDPOINTS del key

etcdctl --endpoints=$ENDPOINTS put k1 value1
etcdctl --endpoints=$ENDPOINTS put k2 value2
etcdctl --endpoints=$ENDPOINTS del k --prefix
2.5 - How to make multiple writes in a transaction
txn command is an abbreviation for “transaction”. It reads multiple etcd requests from standard input and applies them as a single atomic transaction. A transaction consists of list of conditions, a list of requests to apply if all the conditions are true, and a list of requests to apply if any condition is false. View etcdctl key-value commands
for more information.
compare
The compare clause within a transaction (txn) serves as a conditional check that determines whether the transaction’s operations should proceed. It ensures changes are only applied if the current state of the key-value store matches expected conditions, thereby maintaining data consistency and preventing conflicts in concurrent environments. To see how the command is structured, view Perform a transaction
section below.
Transactions
txn to process all the requests in one transaction:
etcdctl txn --help
Transactions in etcd allow you to execute multiple operations atomically, ensuring that either all operations are applied or none are. This is crucial for maintaining data consistency when performing related updates. Learn more about transactions in the API documentation
.
Example
Let’s consider a scenario where you want to update a user’s email and phone number in a single transaction. This ensures that both updates are applied together.
0. Variables and Flags used
Variables
/users/{<user_id>/email : etcd key representing a user’s email address.
/users/<user_id>/phone : etcd key representing a user’s phone number.
Flags
--interactive
: A flag to allow inputting transaction data manually
1. Set up initial data
First, create a user with some initial data.
etcdctl put /users/12345/email "old.address@johndoe.com"etcdctl put /users/12345/phone "123-456-7890"
2. Perform a transaction
Update the user’s email and phone number in a single transaction.
etcdctl txn --interactive
compares:
value("/users/12345/email")="old.address@johndoe.com"success requests (get, put, delete):
put /users/12345/email "new.address@johndoe.com"put /users/12345/phone "098-765-4321"failure requests (get, put, delete):
get /users/12345/email
Compare: Check if the current email is “old.address@johndoe.com
”. This ensures the transaction only proceeds if the data is as expected.
Success: If the comparison is true, update both the email and phone number.
Failure: If the comparison fails, retrieve the current email to understand why the transaction didn’t proceed.
Important considerations
Atomicity: The transaction ensures that both the email and phone number are updated together. If the initial condition (comparison) is not met, neither update is applied.
Consistency: Using transactions maintains data consistency, especially when dealing with multiple related updates.
Avoid multiple puts on the same key: Do not put multiple values for the same key within a single transaction, as this can lead to unexpected results. Each key should be updated only once per transaction.
-i, --interactive[=false]: interactive mode
--prefix[=false]: watch on a prefix if prefix is set--rev=0: Revision to start watching
--prev-kv[=false]: get the previous key-value pair before the event happens
--progress-notify[=false]: get periodic watch progress notification from server
Options inherited from parent commands
--endpoints="127.0.0.1:2379": gRPC endpoints
Examples
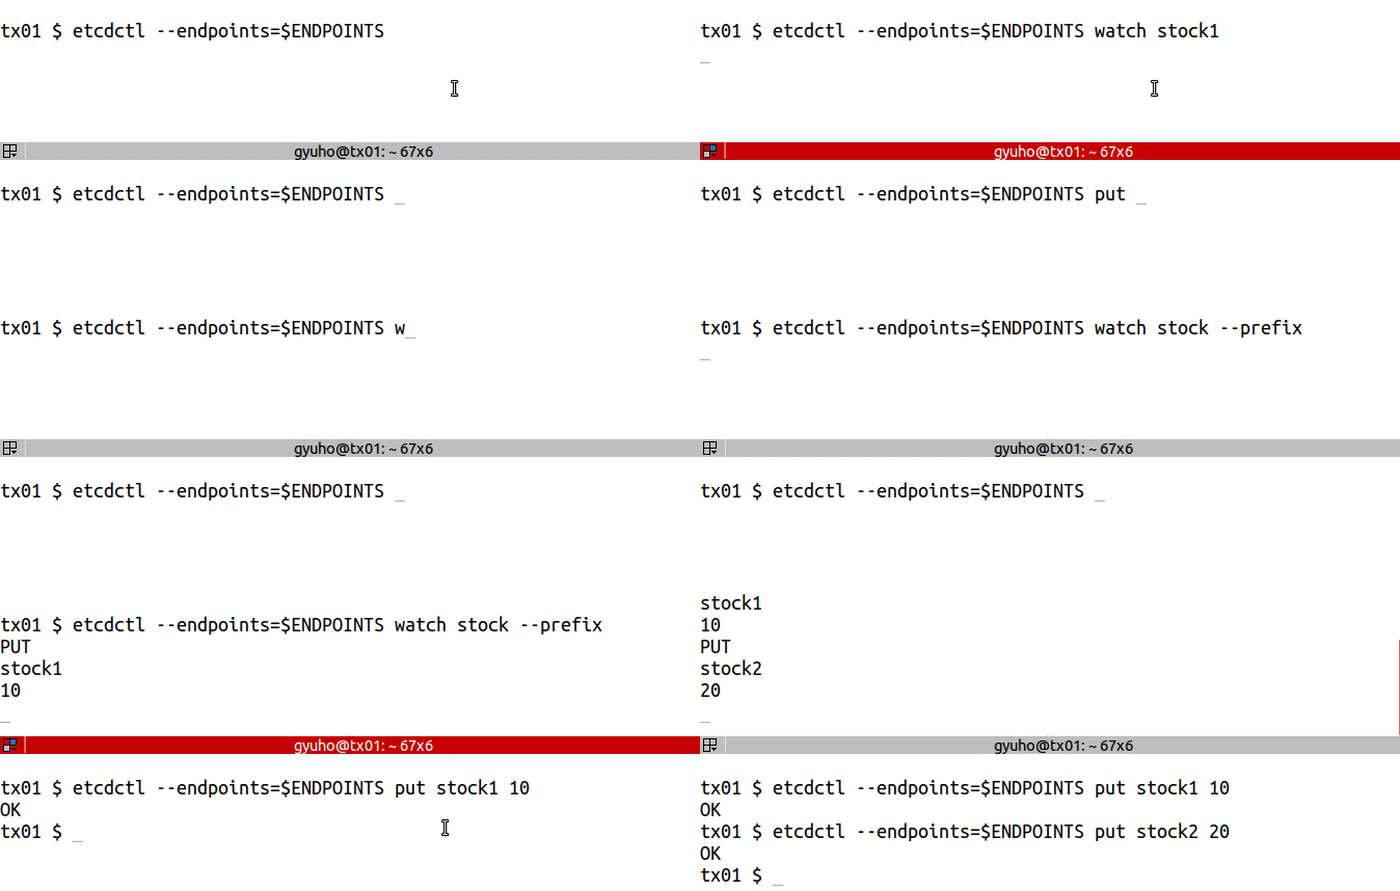
etcdctl --endpoints=$ENDPOINTS watch stock1
etcdctl --endpoints=$ENDPOINTS put stock1 1000etcdctl --endpoints=$ENDPOINTS watch stock --prefix
etcdctl --endpoints=$ENDPOINTS put stock1 10etcdctl --endpoints=$ENDPOINTS put stock2 20
2.7 - How to create lease
Guide to creating a lease in etcd
lease to write with TTL:
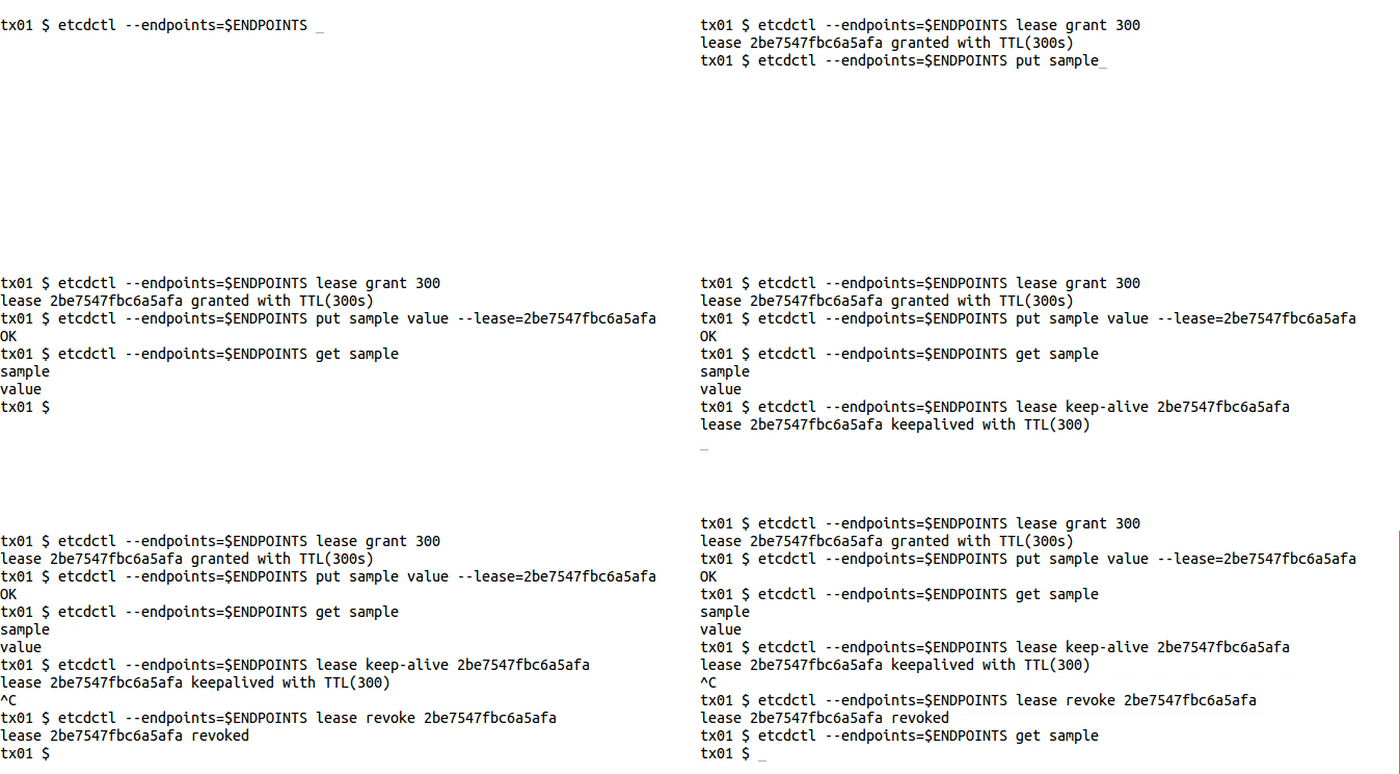
etcdctl --endpoints=$ENDPOINTS lease grant 300# lease 2be7547fbc6a5afa granted with TTL(300s)etcdctl --endpoints=$ENDPOINTS put sample value --lease=2be7547fbc6a5afa
etcdctl --endpoints=$ENDPOINTS get sample
etcdctl --endpoints=$ENDPOINTS lease keep-alive 2be7547fbc6a5afa
etcdctl --endpoints=$ENDPOINTS lease revoke 2be7547fbc6a5afa
# or after 300 secondsetcdctl --endpoints=$ENDPOINTS get sample
2.8 - How to create locks
Guide to creating distributed locks in etcd
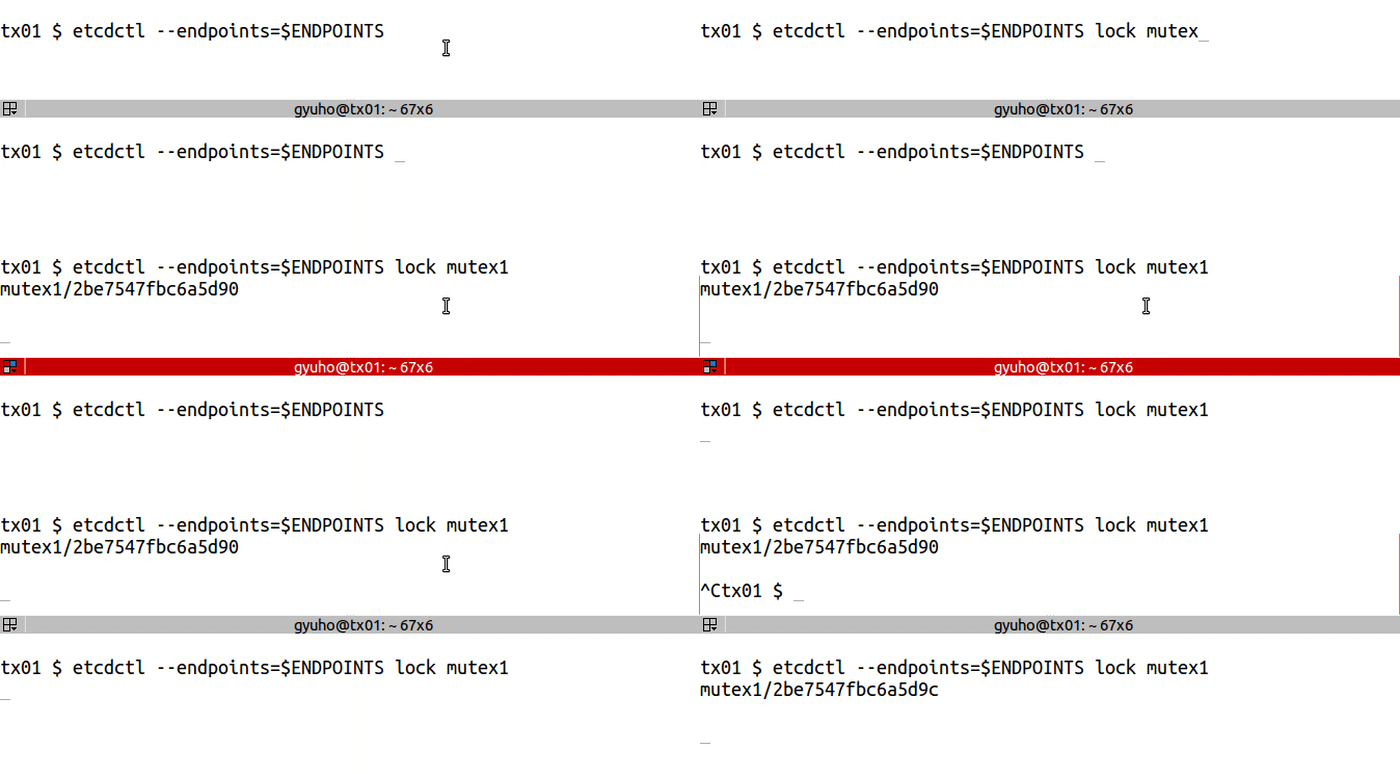
LOCK acquires a distributed mutex with a given name. Once the lock is acquired, it will be held until etcdctl is terminated.